Write Pipeline Code
To continue working on our pipeline file, we will go back to ADO's pipeline editor.
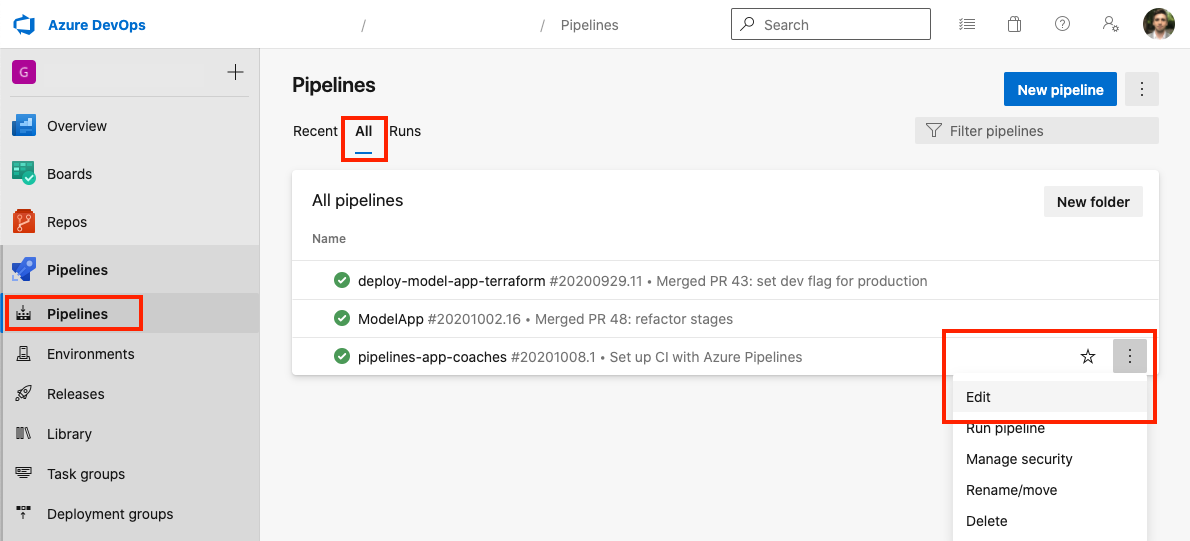
Go to ADO's Pipelines. If it ran, you should see the pipeline that you created a few minutes ago, otherwise select the All tab. Select your pipeline and then click Edit. You should become familiar with navigating ADO Pipelines, locating your pipeline, and the launching the editor.
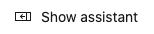
ADO has a feature-rich pipeline editor. The pipeline file can also be edited locally using the typical developer workflow. However, we recommend taking advantage of the built-in editor. When using the editor, be sure to reveal the point-and-click Tasks for configurable code blocks (you may need to click Show Assistant).
Once you are in the editor, ensure you are on the branch that was created earlier, azure-pipelines. We will continue committing to this branch throughout the lab.
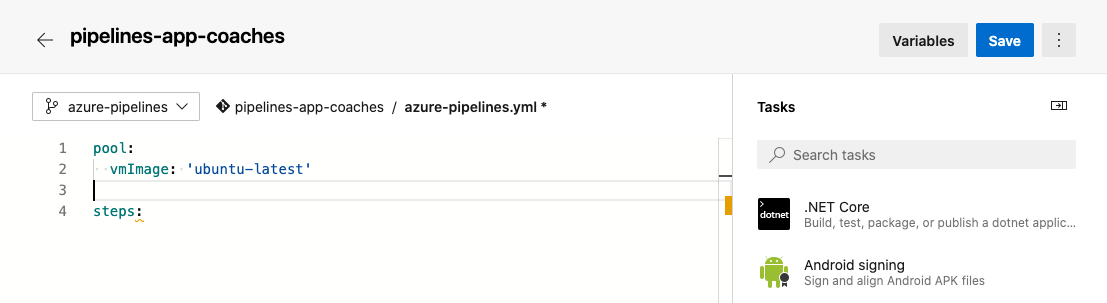
Out of the box, the Starter template provided basic pipeline that ran two scripts. Let's clean the file by removing all the code except for the pool block (right now, we will continue using Microsoft's Hosted Agents), and we will build the pipeline from scratch. Finally, keep the steps: line, under which we will write all of our individual tasks.
Every time you Save your
azure-pipelines.yml, you are making a new commit and kicking off a new pipeline build. Continue working on the sameazure-pipelinesbranch that you created earlier. We will merge these changes to themainbranch at the end of the lab.
Build the app
Our code repository is a .NET Core app. We will use the built-in task templated for these apps in order to run a build. On the Tasks search and select the .NET Core task (docs).
- Command: build
- Path to project(s): **/*.sln
- Arguments: --configuration Release
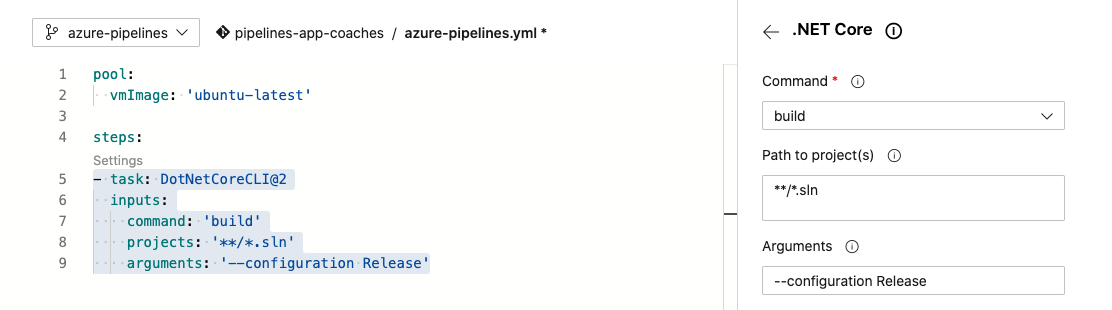 After adding a .NET Core task to the pipeline. The task can be modified by selecting Settings, which will bring up the Task editor again.
Run unit tests
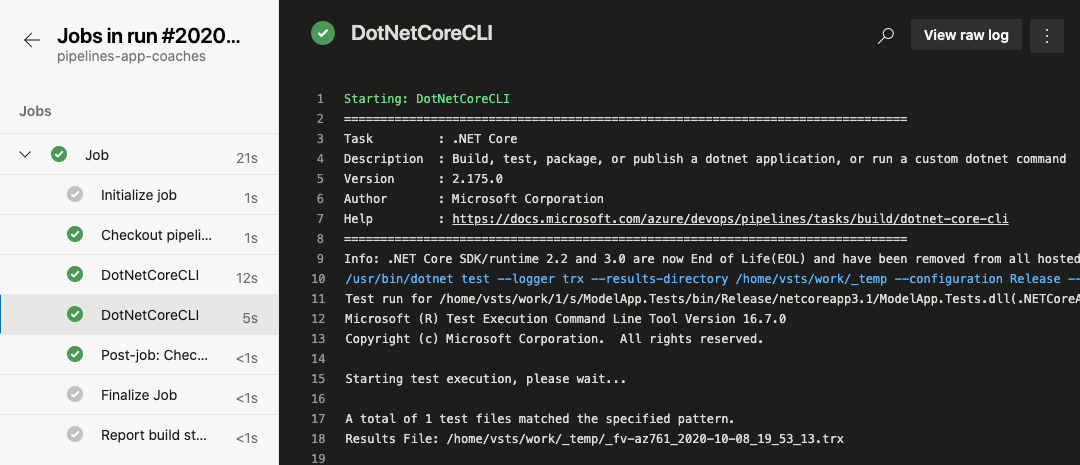
After running a build, we want to run a quick set of unit tests. Again, add a new .NET Core task. This time, use the test command and use arguments --configuration Release --no-build --no-restore.
Before we continue, we can quickly Save and run the pipeline to get feedback and ensure our pipeline and build the app and run unit tests. Go to Pipelines and select your pipeline. This should bring up the most recent run, then drill down into the Job.
Now go back to the Pipeline Editor and continue making changes on theazure-pipelinesbranch.
Build and Test pipeline code
If your build failed, compare your pipeline file against the solution code.